Building a Basic AWS Infrastructure with Terraform: A Step-by-Step Guide
Day 65 & 66: Terraform Hands-on Project

Introduction
In this tutorial, we'll leverage the power of Terraform to set up a foundational AWS infrastructure, complete with essential components such as a Virtual Private Cloud (VPC), subnets, an Internet Gateway, a route table, a security group, and an EC2 instance hosting a simple website. Each step will be meticulously explained to ensure a seamless learning experience, even for beginners.
Prerequisites:
Before diving into the tutorial, ensure you have Terraform installed on your local machine. If not, you can download Terraform from the official website.
Step 1: Setting Up the Terraform Project
To kick things off, create a new directory for your Terraform project and initialize it:
mkdir terraform_project
cd terraform_project
terraform init
Step 2: Defining AWS Provider and VPC
Next, define the AWS provider and create a Virtual Private Cloud (VPC) by adding the following code to main.tf:
provider "aws" {
  region = "your_region"
}

resource "aws_vpc" "my_vpc" {
  cidr_block = "10.0.0.0/16"
}
Replace "your_region" with your desired AWS region.
Step 3: Adding Public and Private Subnets
Extend main.tf to include the creation of public and private subnets within the VPC:
resource "aws_subnet" "public_subnet" {
  vpc_id                  = aws_vpc.my_vpc.id
  cidr_block              = "10.0.1.0/24"
  availability_zone       = "your_az" # replace with your desired availability zone
  map_public_ip_on_launch = true
}

resource "aws_subnet" "private_subnet" {
  vpc_id     = aws_vpc.my_vpc.id
  cidr_block = "10.0.2.0/24"
  availability_zone = "your_az" # replace with your desired availability zone
}
Replace "your_az" with your desired availability zone.
Step 4: Adding Internet Gateway and Route Table
Extend main.tf to include the creation of an Internet Gateway and a route table for the public subnet:
resource "aws_internet_gateway" "my_igw" {
  vpc_id = aws_vpc.my_vpc.id
}

resource "aws_route_table" "public_route_table" {
  vpc_id = aws_vpc.my_vpc.id
}

resource "aws_route" "public_route" {
  route_table_id         = aws_route_table.public_route_table.id
  destination_cidr_block = "0.0.0.0/0"
  gateway_id             = aws_internet_gateway.my_igw.id
}
Step 5: Associating Route Table with Public Subnet
Extend main.tf to associate the route table with the public subnet:
resource "aws_route_table_association" "public_association" {
  subnet_id      = aws_subnet.public_subnet.id
  route_table_id = aws_route_table.public_route_table.id
}
Step 6: Creating Security Group
Extend main.tf to create a security group allowing SSH and HTTP traffic:
resource "aws_security_group" "web_sg" {
  name        = "web_sg"
  description = "Security group for the web instance"
  vpc_id      = aws_vpc.my_vpc.id

  ingress {
    from_port   = 22
    to_port     = 22
    protocol    = "tcp"
    cidr_blocks = ["0.0.0.0/0"]
  }

  ingress {
    from_port   = 80
    to_port     = 80
    protocol    = "tcp"
    cidr_blocks = ["0.0.0.0/0"]
  }

  egress {
    from_port   = 0
    to_port     = 0
    protocol    = "-1"
    cidr_blocks = ["0.0.0.0/0"]
  }
}
Step 7: Launching EC2 Instance in Public Subnet
Extend main.tf to create an EC2 instance in the public subnet:
resource "aws_instance" "web_instance" {
  ami                    = "ami-xxxxxxxxxxxxxxxxx" # Replace with Ubuntu AMI
  instance_type          = "t2.micro"
  subnet_id              = aws_subnet.public_subnet.id
  vpc_security_group_ids = [aws_security_group.web_sg.id]

  user_data = <<-EOF
    #!/bin/bash
    apt-get update
    apt-get install -y apache2
    systemctl start apache2
    systemctl enable apache2
    echo "<h1>Hello from Terraform</h1>" > /var/www/html/index.html
  EOF
}
Replace "ami-xxxxxxxxxxxxxxxxx" with the correct Ubuntu AMI for your region.
Step 8: Applying Terraform Configuration
Apply the Terraform configuration:
terraform apply
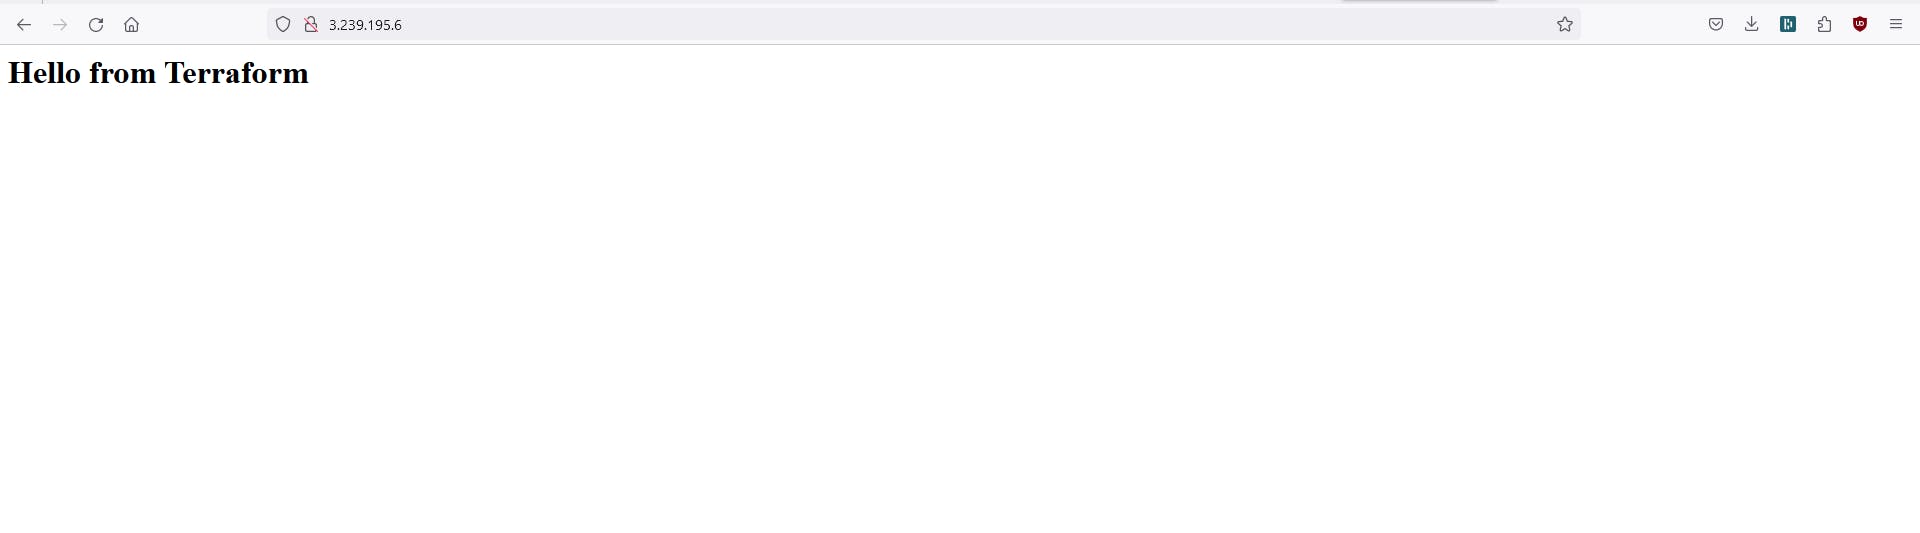
Step 9: Verifying Website Hosting
After Terraform applies the configuration, open the EC2 instance's public IP or DNS in a web browser to verify that the website is hosted successfully.
Conclusion
You've successfully created a basic AWS infrastructure using Terraform, encompassing essential components required for hosting a website. With Terraform's declarative approach, infrastructure management becomes seamless and scalable. Feel free to customize the configuration further to meet your specific requirements and explore advanced Terraform features to unlock even more possibilities.
Happy Terraforming!
Follow me on LinkedIn.


